How to Mix a Cocktail
A pair of perfectly crafted Perfect Manhattans and the ingredients that make them up.
Welcome back to Foxtail Apothecary. Now that your home bar is equipped and stocked we are going to take some time to look at actually mixing a cocktail. This is not an overly complicated subject but there is some nuance, technique, and a few “rules” that are worth knowing.
Shaken or stirred? How do you know which to do? Truthfully there is no hard and fast rule for what technique to use and when. There are a number of opinions and good rationales to guide you but it will largely come down to your preference.
Most cocktail recipes will specify the creator’s intended method of mixing the particular drink at hand but, generally, cocktails that are primarily liquor (most classic cocktails for instance) or cocktails that contain any type of carbonation should be stirred in order to maintain a high degree of control over the final product. Also, generally, any drink that contains fruit juices, especially citrus juices, is recommended to be shaken. Shaking drinks with juice in them takes the edge off of the sweetness or sourness and incorporates the juice more fully into the other ingredients which creates a more homogenous final product.
Again, these are just general guidelines, I prefer to stir my gimlets to maintain the nuances of the gins I prefer. Alternatively, many people channel Mr. Bond in ordering their martini shaken, not stirred. Most die-hard cocktail connoisseurs consider this a faux pas because the shaking causes the ice to crack and the resulting chips water down the drink further during the shaking process. This, in turn, means that the drink should ideally be double strained through a fine mesh sieve to remove the ice chips before serving. Shaking also introduces air into the drink and can help some ingredients to oxidize slightly which can affect flavor mildly.
When it comes down to it, try making drinks with different methods and do what you prefer and do not let anyone shame you for enjoying in your own way.
Now that we have covered some of the basic information about mixing we can go a little bit more in-depth with the actual processes.
We will start with my favorite method of mixing cocktails, stirring. This method is arguably the easiest and affords the most control. You can stir a cocktail in just about any vessel. There are some cocktails for instance, where you should build them in the glass they will be served in over ice, stirred, then enjoyed. Under most circumstances, though, you will want to utilize your shaker or a mixing glass. Whatever your vessel, always make sure to have all of your ingredients and equipment close at hand before you start. The last thing that you want is to have your drink or any of its components sitting in melting ice and watering down while you scramble to find something
When everything is gathered together place some ice into your mixing vessel. I usually fill my mixing glass about halfway but at bare minimum you want to make sure there is enough to fully cover the total amount of your ingredients. You know you do not have enough if your ice is actively floating. Sufficient ice will weigh itself down enough to ensure all of the liquid is in contact with the ice and is being chilled evenly.
There is a small point of contention about what ingredient should go over the ice first. In my opinion, your first ingredients should be bitters if your cocktail contains any and as long as the recipe does not specify adding them at a specific point. Otherwise, you should add your base liquor first then any additives in descending order by volume.
When all ingredients are added to your vessel grab your bar spoon and insert the paddle end into the mix. If the mix is loose enough I like to go straight into the center, all the way to the bottom, and then drag the spoon to the wall of the mixing glass. If you are using a tin or other lightweight vessel you will need to steady it so that it doesn’t tip or move.
When stirring you want to have a fairly loose grip on the neck of your bar spoon and allow it to spin in your hand/between your fingers as you move it around the wall of your vessel. Essentially, you want to create a whirlpool in the vessel but you do not want the liquid to slosh or to come over the lip.
If you are using a tin, stir until the metal is almost frosting, not just sweating. If you are using a glass vessel like a pint glass or mixing glass it is a little bit more finicky. I go until my mixing glass is cold to the touch and nearly sweating, this may vary depending on the thickness and type of glass you are using.
Now that your cocktail is sufficiently mixed and chilled use either a julep or Hawthorne strainer and pour your creation into your preferred glass. If your drink will be on the rocks, still strain the drink into a glass over fresh ice, you don’t want to include the “dirty” ice because it is already melting and will dilute your drink faster than fresh ice will. If your guest wants, you can provide them with the “dirty rocks” in a separate glass. Otherwise, add your garnish and serve.
That is a lot to read for a process that only takes about a minute or so. Let’s take a look at it in practice with my favorite cocktail, the Perfect Manhattan. For this cocktail you will need:
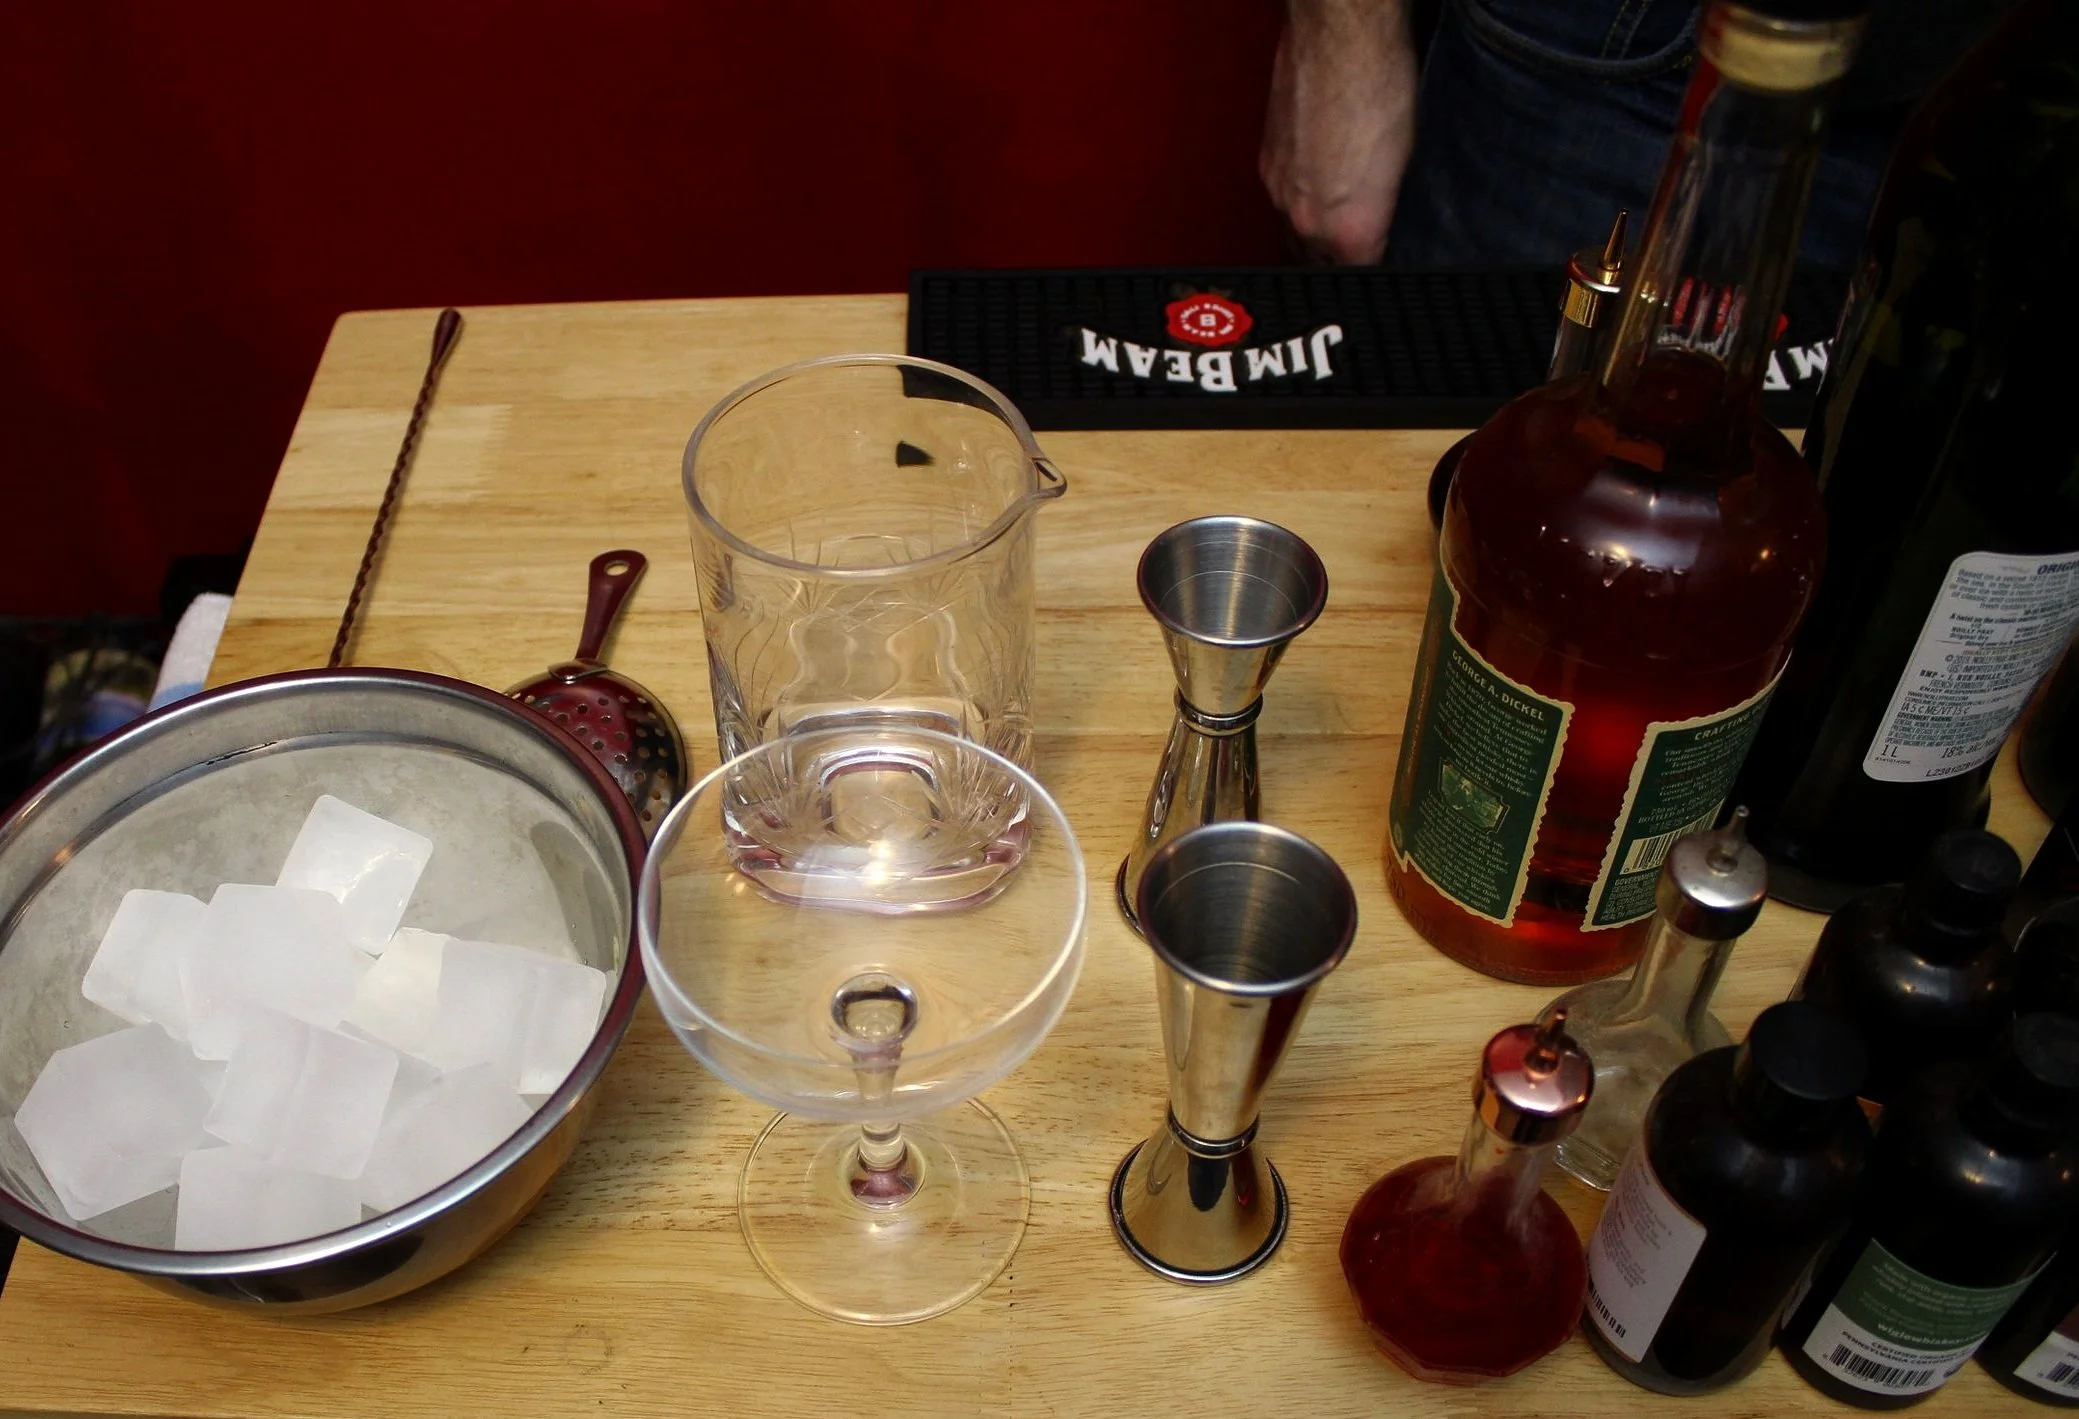
My choice of equipment for stirring cocktails, note my choice of coupe and crystal mixing glass with a Julep style strainer.
Equipment
Mixing Glass or comparable vessel
2 oz and .5 oz jiggers
Bar Spoon
Strainer - either julep or Hawthorne
Up glass of your preference
A bar pick
My choice of ingredients for this Perfect Manhattan, note the traditional Rye Whisky (George Dickel), Carpano Classico for my Sweet (Rosso or Red) Vermouth, Noilly Pratt for my Dry (White or Bianco) Vermouth and Angostura bitters in a handsome little dashing bottle.
Ingredients
Ice
Angostura Bitters - 3 to 5 dashes
Rye Whiskey - 2 oz
Sweet Vermouth - .5 oz
Dry Vermouth - .5 oz
Cherries - 1 to 3
With all of the above items gathered on your bar top, place the ice in your vessel. Add your bitters over the ice, then measure out and add your rye whiskey, sweet vermouth, and dry vermouth. Stir your drink until frost forms on your tin or until your mixing glass sweats. Strain the contents into your glass. Skewer your cherries on a bar pick and gently place them into the finished drink. Enjoy.
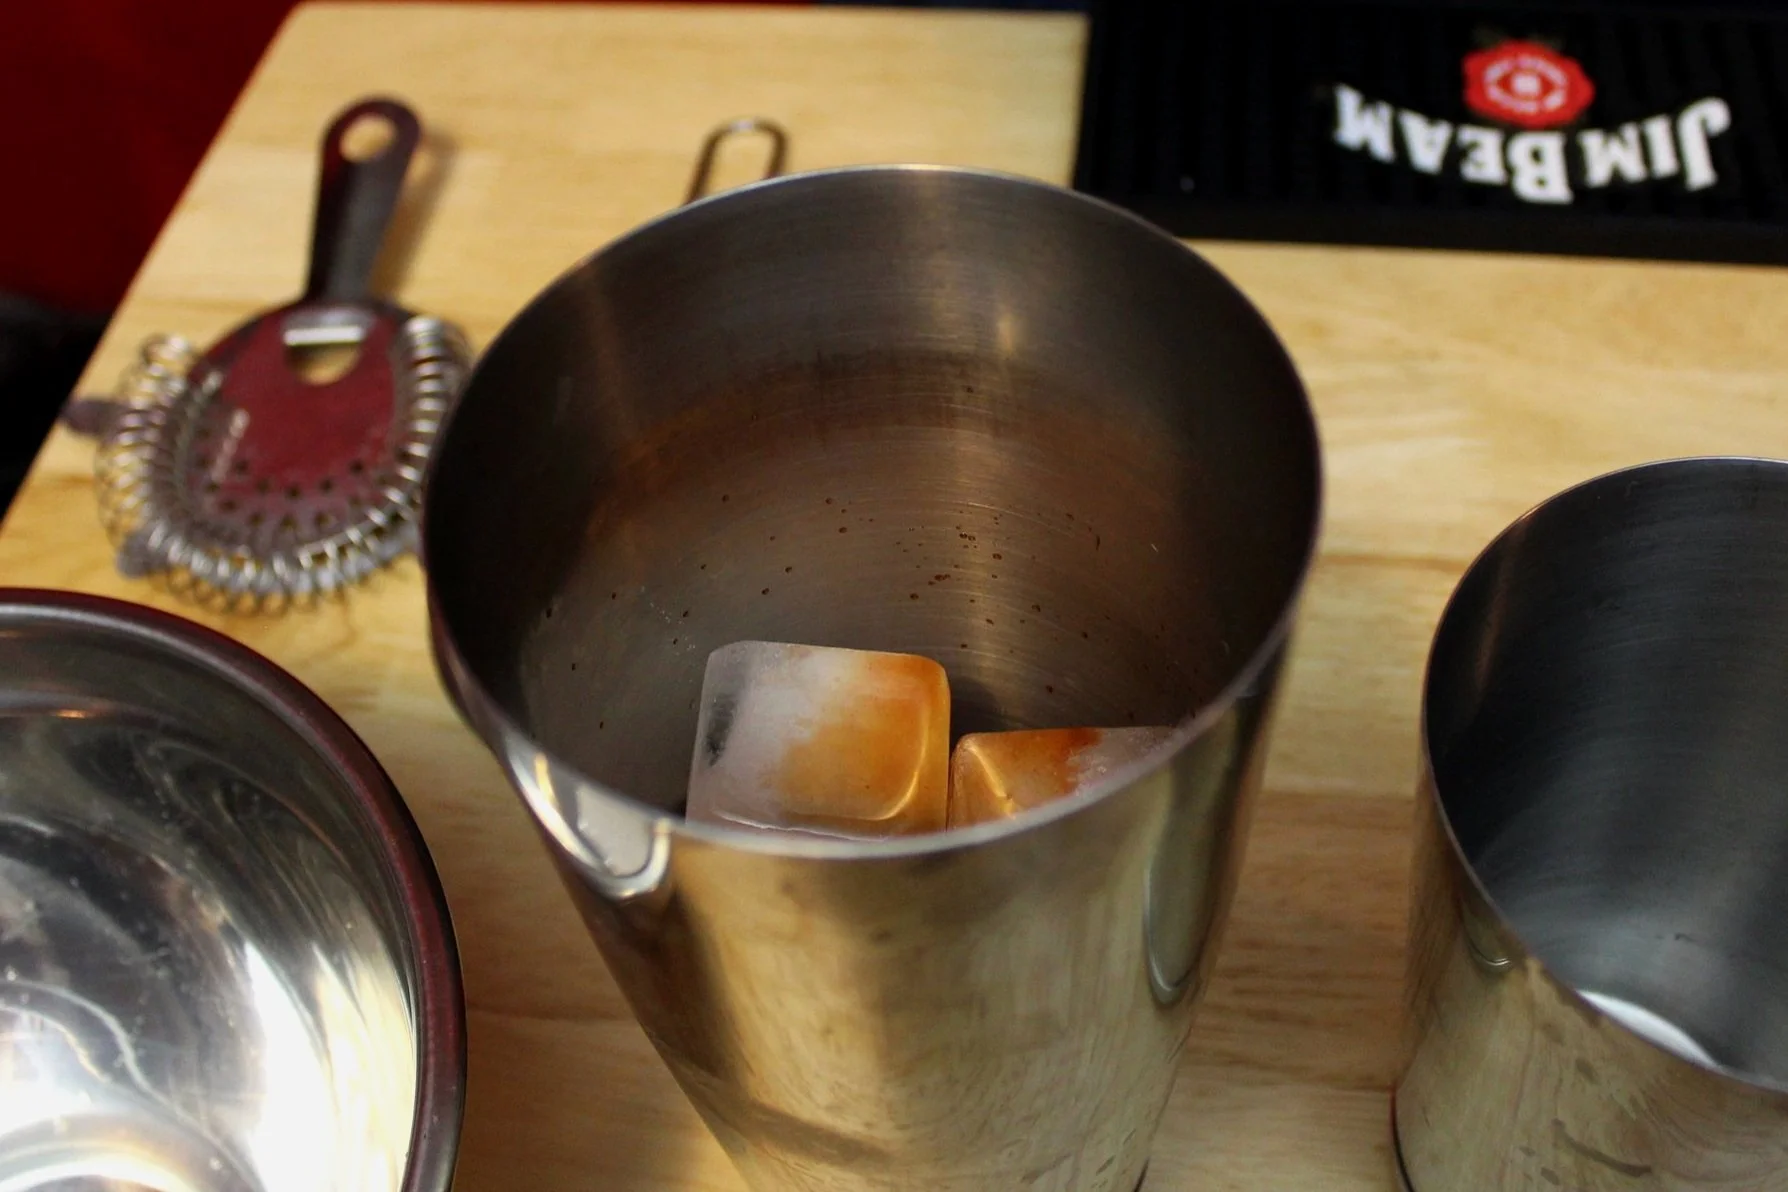
My mixing glass and ice, because of the fairly large size of my ice and the fairly low volume of liquid (about 3 ounces) I don’t need much but it fills about 1/3 to 1/2 of the vessel.
Adding your bitters is a matter of taste, I prefer to do 3 - 4 dashes but different bottles release different volumes per dash so you may have to dial this in.
Carefully fill your jigger to the two ounce mark, for me this is the top rim, doing this over or beside the vessel will save any spillage. Note I have the jigger pinched between my fingers which act as a sort of fulcrum, this is a little tricky but makes it look like you know what you’re doing so give it a little practice with some water until you’re confident, alternatively you can just hold the jigger however is most comfortable while allowing you to pour smoothly.
Add in your sweet vermouth, note that I flipped my jigger to the smaller end for a more precise measure of the 1/2 ounce volume, the larger side of my jiggers only measures 1.5 and 2 ounces while the smaller side measures .5 and 1 ounces.
Pour in the same volume of dry vermouth.
Stir your ingredients together using the corkscrew of your bar spoon to rotate between your first and second finger while supporting it from behind with your thumb. Go around the glass in smooth quick motions.
Strain your cocktail through the Julep strainer which just sits on top of the ice. To prevent the weight from pushing out the strainer you want to make sure there is a fairly extreme angle and pressure against the side of the glass to keep the strainer seated.
Swashbuckle (read skewer) your cherry and place into your finished product, enjoy!
This is a fairly classic way to enjoy a Manhattan, you can also make this cocktail down on the rocks or shaken. Let’s look at the shaking process and then compare. For this process you will always need a dedicated vessel, it is generally not considered wise to use the glass you will drink from as the shaking vessel, even if it does fit with your tin and form a good seal. To properly shake a drink, as always, gather all of the necessary components first.
You will build the cocktail in the tin as you would a mixing glass; ice, bitters, base liquor, and additives in descending order by volume. If you are using a three-piece shaker, about half full of ice is usually sufficient. If you opted for a Boston shaker, fill the smaller tin about two-thirds of the way with ice. To note, some bartenders will dole out their ingredients first and then add the ice, I prefer not to so as to avoid any splashing, though the amount of splashing depends on the shape of your ice and how much liquid is in your vessel. For a Boston shaker, though, you can fill the small tin with ice and add the liquid ingredients to the large tin. This is nice if there are a lot of ingredients, you forgot to grab something, or you are learning and going at a slow and steady pace.
Now cap your three-piece shaker tightly or seat your two tins together firmly. To properly seat a Boston shaker place one tin over (or into) the other and with the shaker sat securely on the bar top and braced with a hand give the top tin a fairly sharp hit downward with the heel of your palm to compress the two together and seal the contents inside.
For the sake of ease, I recommend always tipping the small tin into the large tin and seating them by tapping the small tin downward but there are definitely bartenders who will seat the empty large tin over the smaller tin after building the cocktail in it. Do whatever makes you most comfortable but I have never seen anyone make errors seating the small tin in the large tin where as I have witnessed many times a tin not fully compress and the heavy small end drop out as the bartender has lifted the large tin to begin shaking.
Seating the Boston shaker is a technique that you learn with practice, leakage can occur and cause a mess if you are too gentle, or you can trap your cocktail if you are too aggressive, keep in mind that you will have to separate the tins by force after shaking.
With the shaker firmly sealed, grasp the base firmly in one hand and place the other hand over the top tin or three-piece cap. Shake vigorously until the tin begins to frost. Unseal your shaker, for the three-piece the cap should pop off with relative ease, for the Boston shaker hold the shaker upright with the small tin on top and smack it against your non-dominant hand, the small tin should shift and break the seal allowing you to remove the tin and place your strainer.
Strain the cocktail into your glass using the integral strainer for your three-piece or a Hawthorne or Julep strainer for a Boston shaker. You will notice small chips of ice, if you purchased one, straining the cocktail through a fine mesh sieve will remove these and improve the look and preserve the flavor of your drink. When using a Julep or Hawthorne strainer for any straining keep in mind you need to hold them affixed to your vessel, they cannot stay attached under their own power. For a three-piece shaker make sure you hold the strainer top affixed to the base or it could pop off when the liquid and ice move to the top while pouring. Add your garnish and serve.
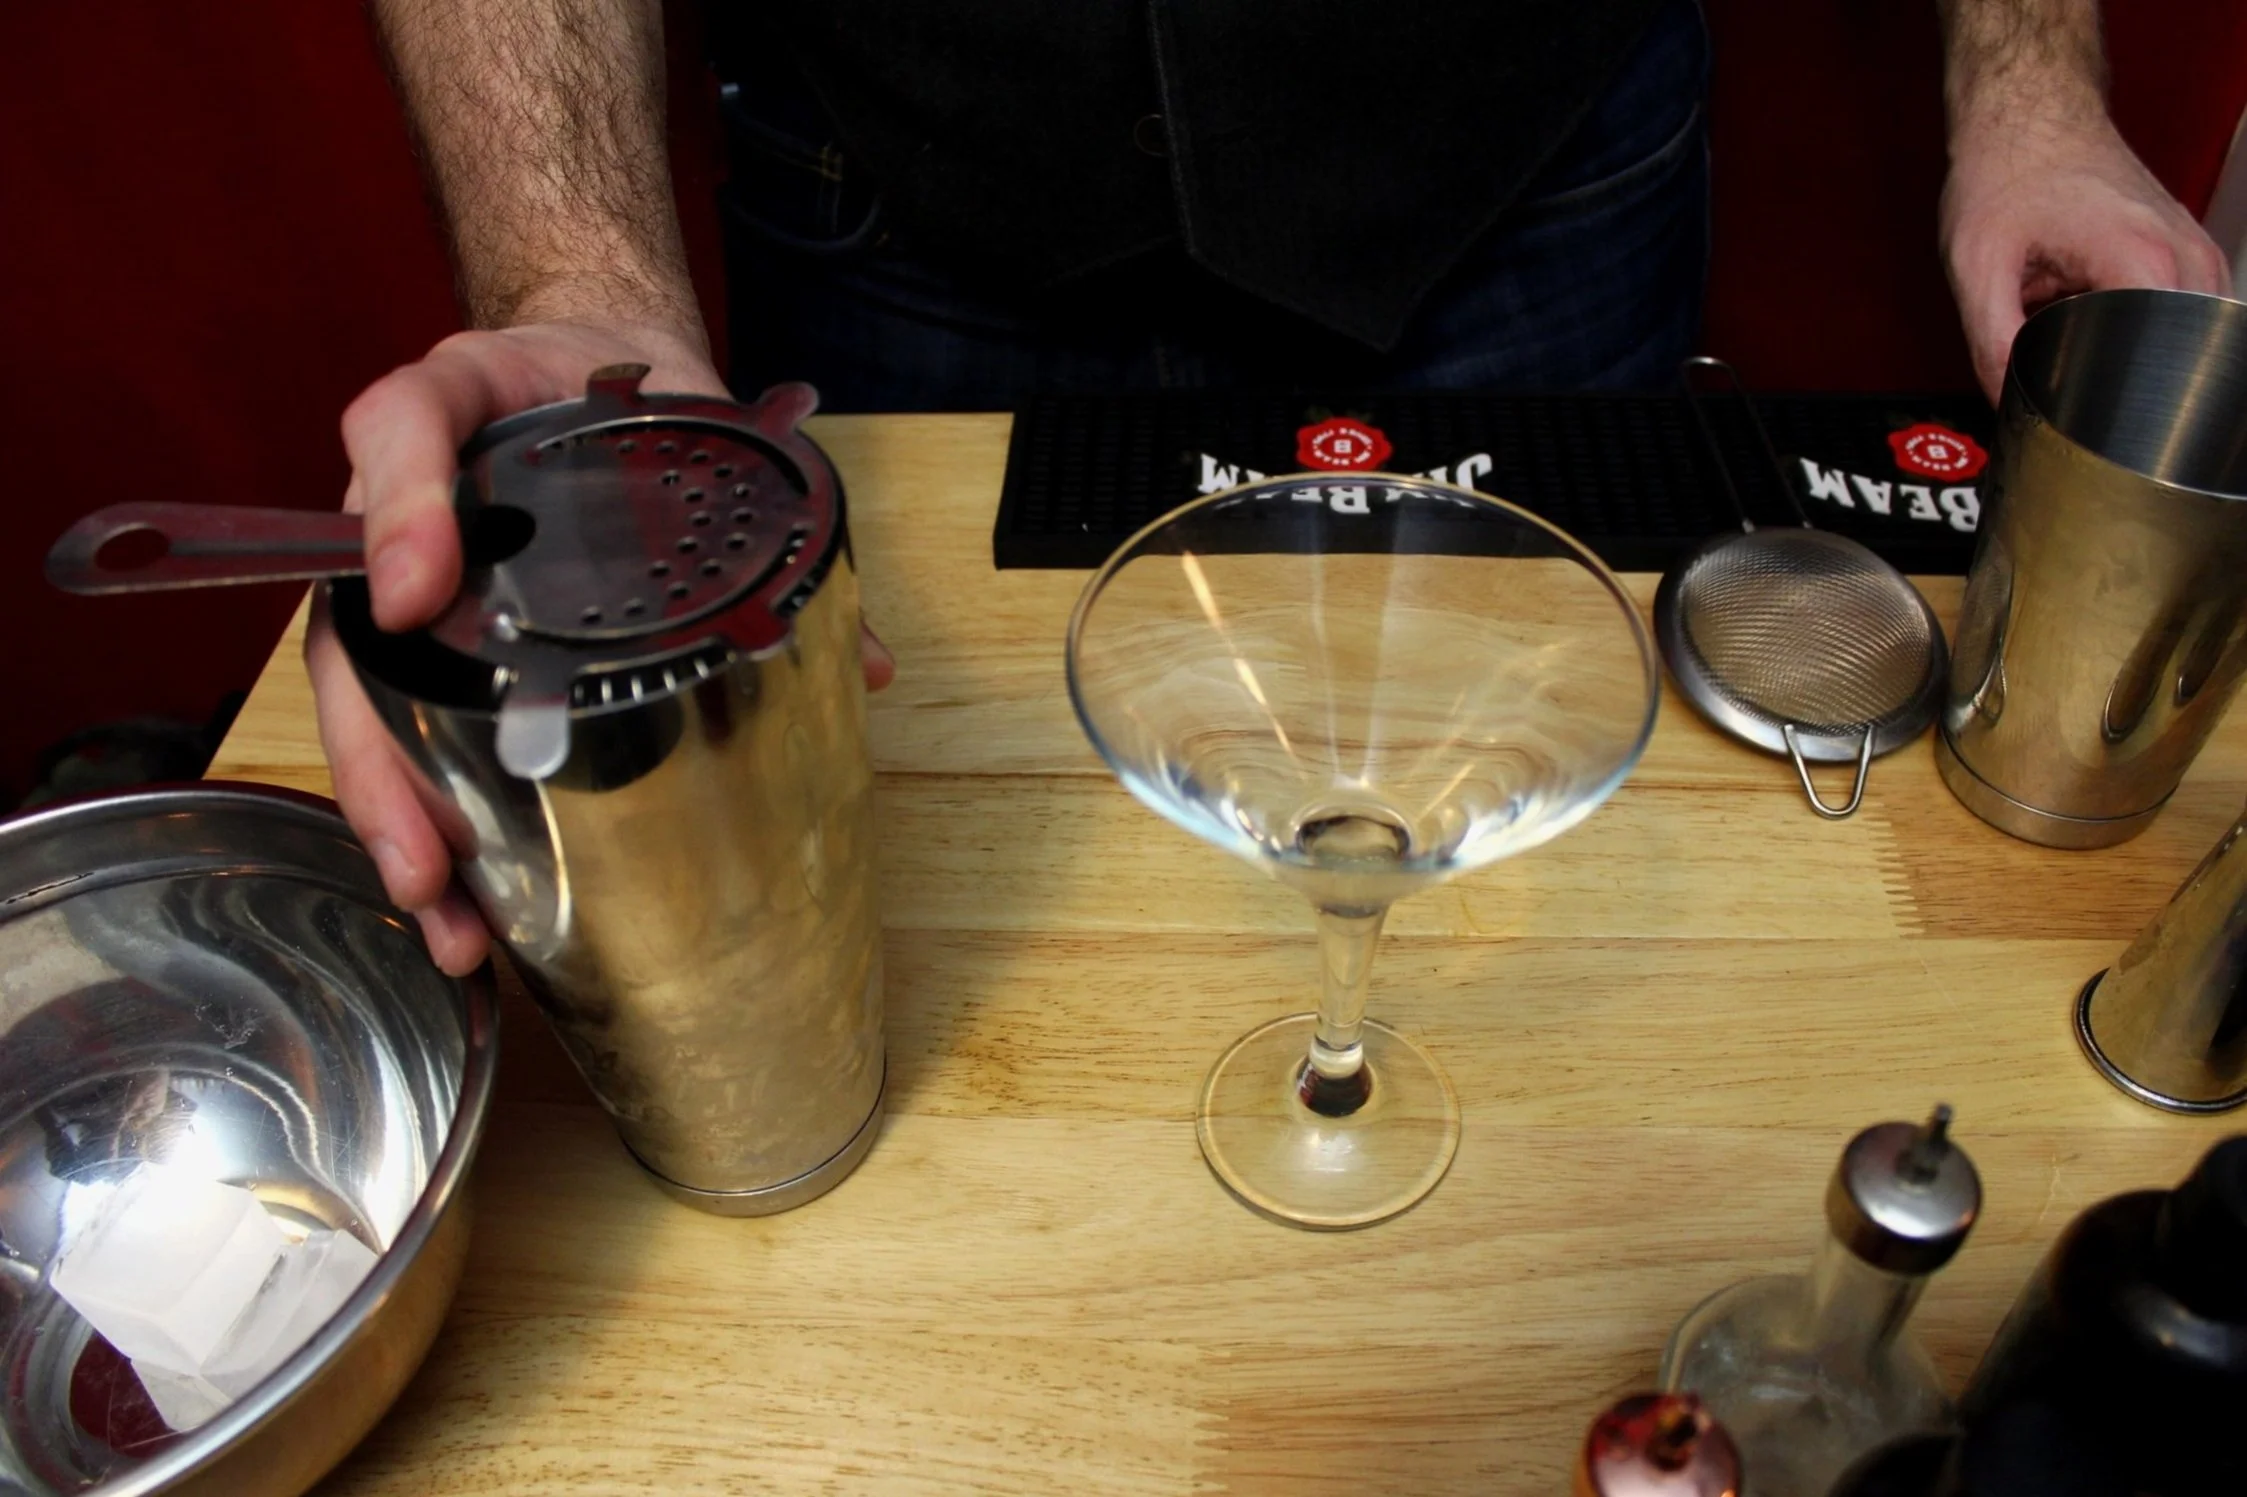
My basic set up for shaking cocktails. I opted to do everything in the larger tin just because I had limited space with my current arrangement. Note that I have opted for a Hawthorne strainer and fine mesh sieve. I still have my bar spoon as well to help with cherry retrieval.
Now let’s revisit the Manhattan. You will use most of the same equipment, switch the mixing glass for a shaker and the bar spoon for a fine mesh sieve if you have one. In your shaker add your ice, bitters, rye whiskey, sweet vermouth, and dry vermouth. Securely close your shaker and shake vigorously until the metal begins to frost. Unseal your shaker and strain through both the strainer top or your preferred stand-alone option as well as a fine mesh sieve into your preferred glass. Skewer your cherries and place the garnish into your drink. Enjoy.
Dash in your bitters over the ice, this step is the same as above with stirring cocktails, this is purely to taste.
Add in your two ounces of Rye Whisky.
Next add in your sweet vermouth, again I am using Carpano Classico, it has a nice well rounded flavor and a sweetness that really compliments rye.
Add in your dry vermouth next, normally I would use Alessio Bianco because it has a brighter more citrus forward flavor that helps curb the earthy rye flavor but my local store no longer carries the brand so I went with Noilly Pratt as another light and bright option.
Seal the shaker securely with a firm tap using the heel of your palm, notice that the shaker is already starting to fog up because the liquid is transferring the cold from the ice to the metal, this is a good indication that your ingredients are already starting to get cold.
After vigorous shaking you can see how frosted the tin has become, this is where you want it to be for a well chilled drink, think about a nice frosty margarita, that is the level of cold you are generally aiming for.
Use the heel of your palm again to unseal the tin, it’s worth stating that it is easier to keep your empty hand steady and swing the sealed tin into it. You are aiming just above where the metal rim of the small tin is seated inside the large tin.
Place your strainer on top of the tin and use your first finger to apply pressure against the spring seated inside the tin. This pressure will help the strainer stay seated even when the ice clanks against it.
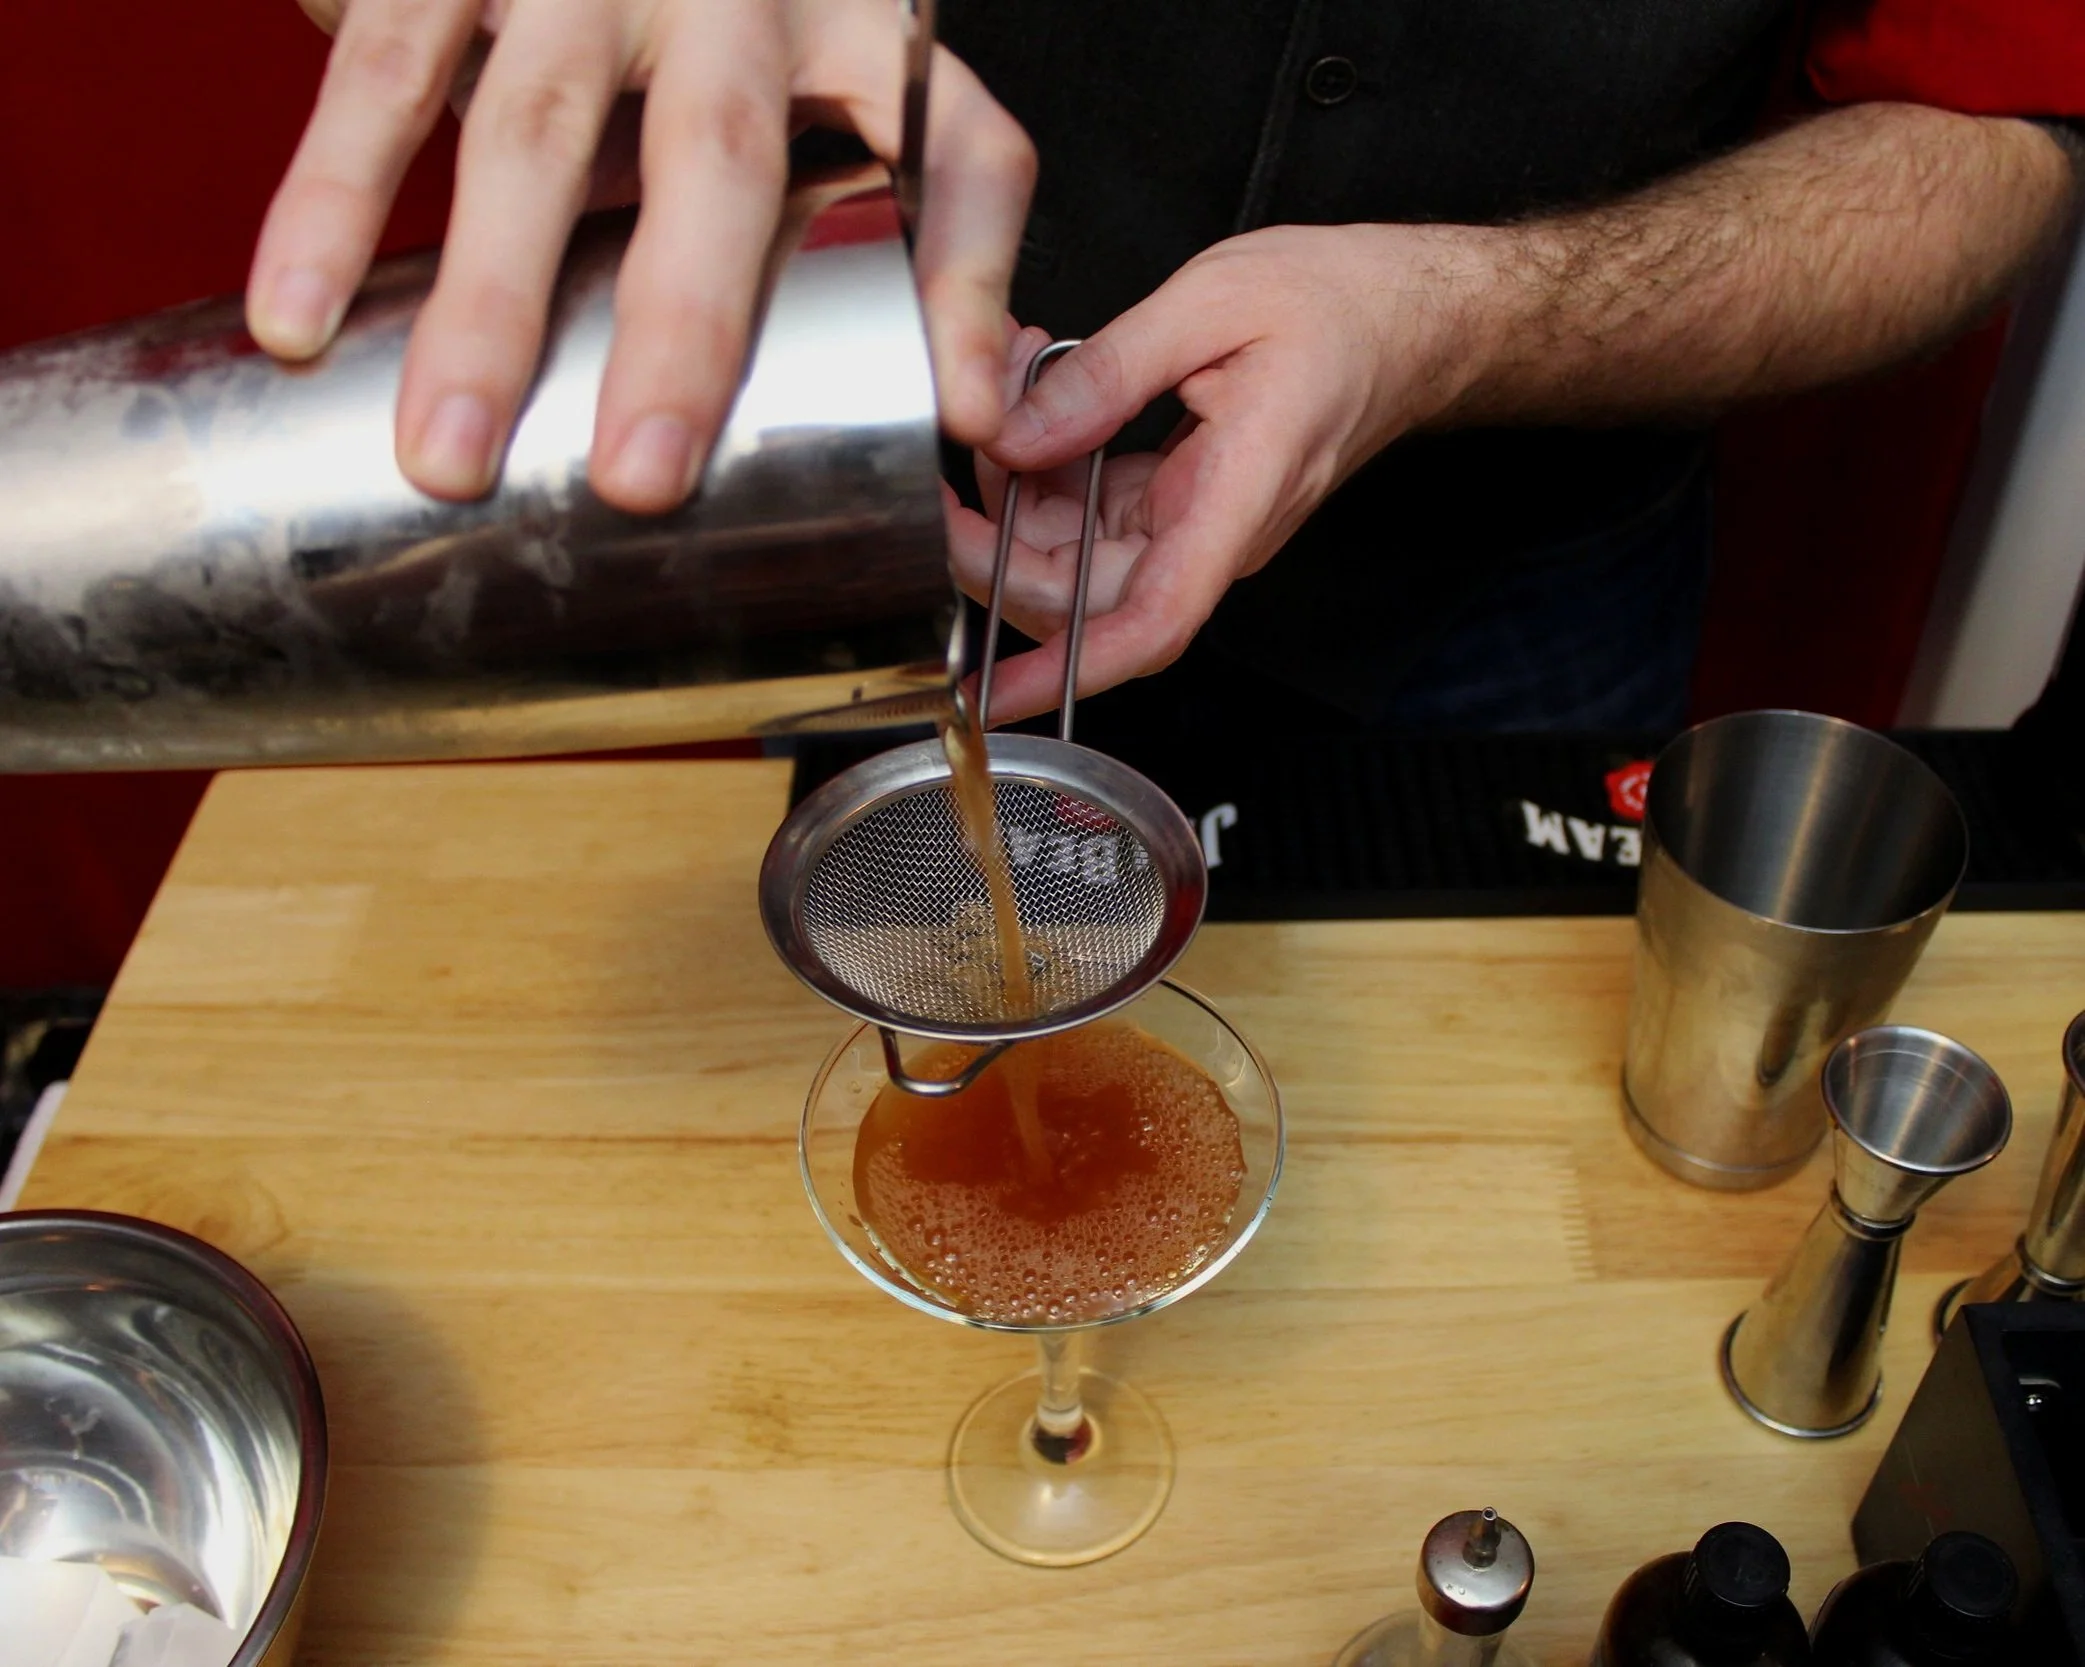
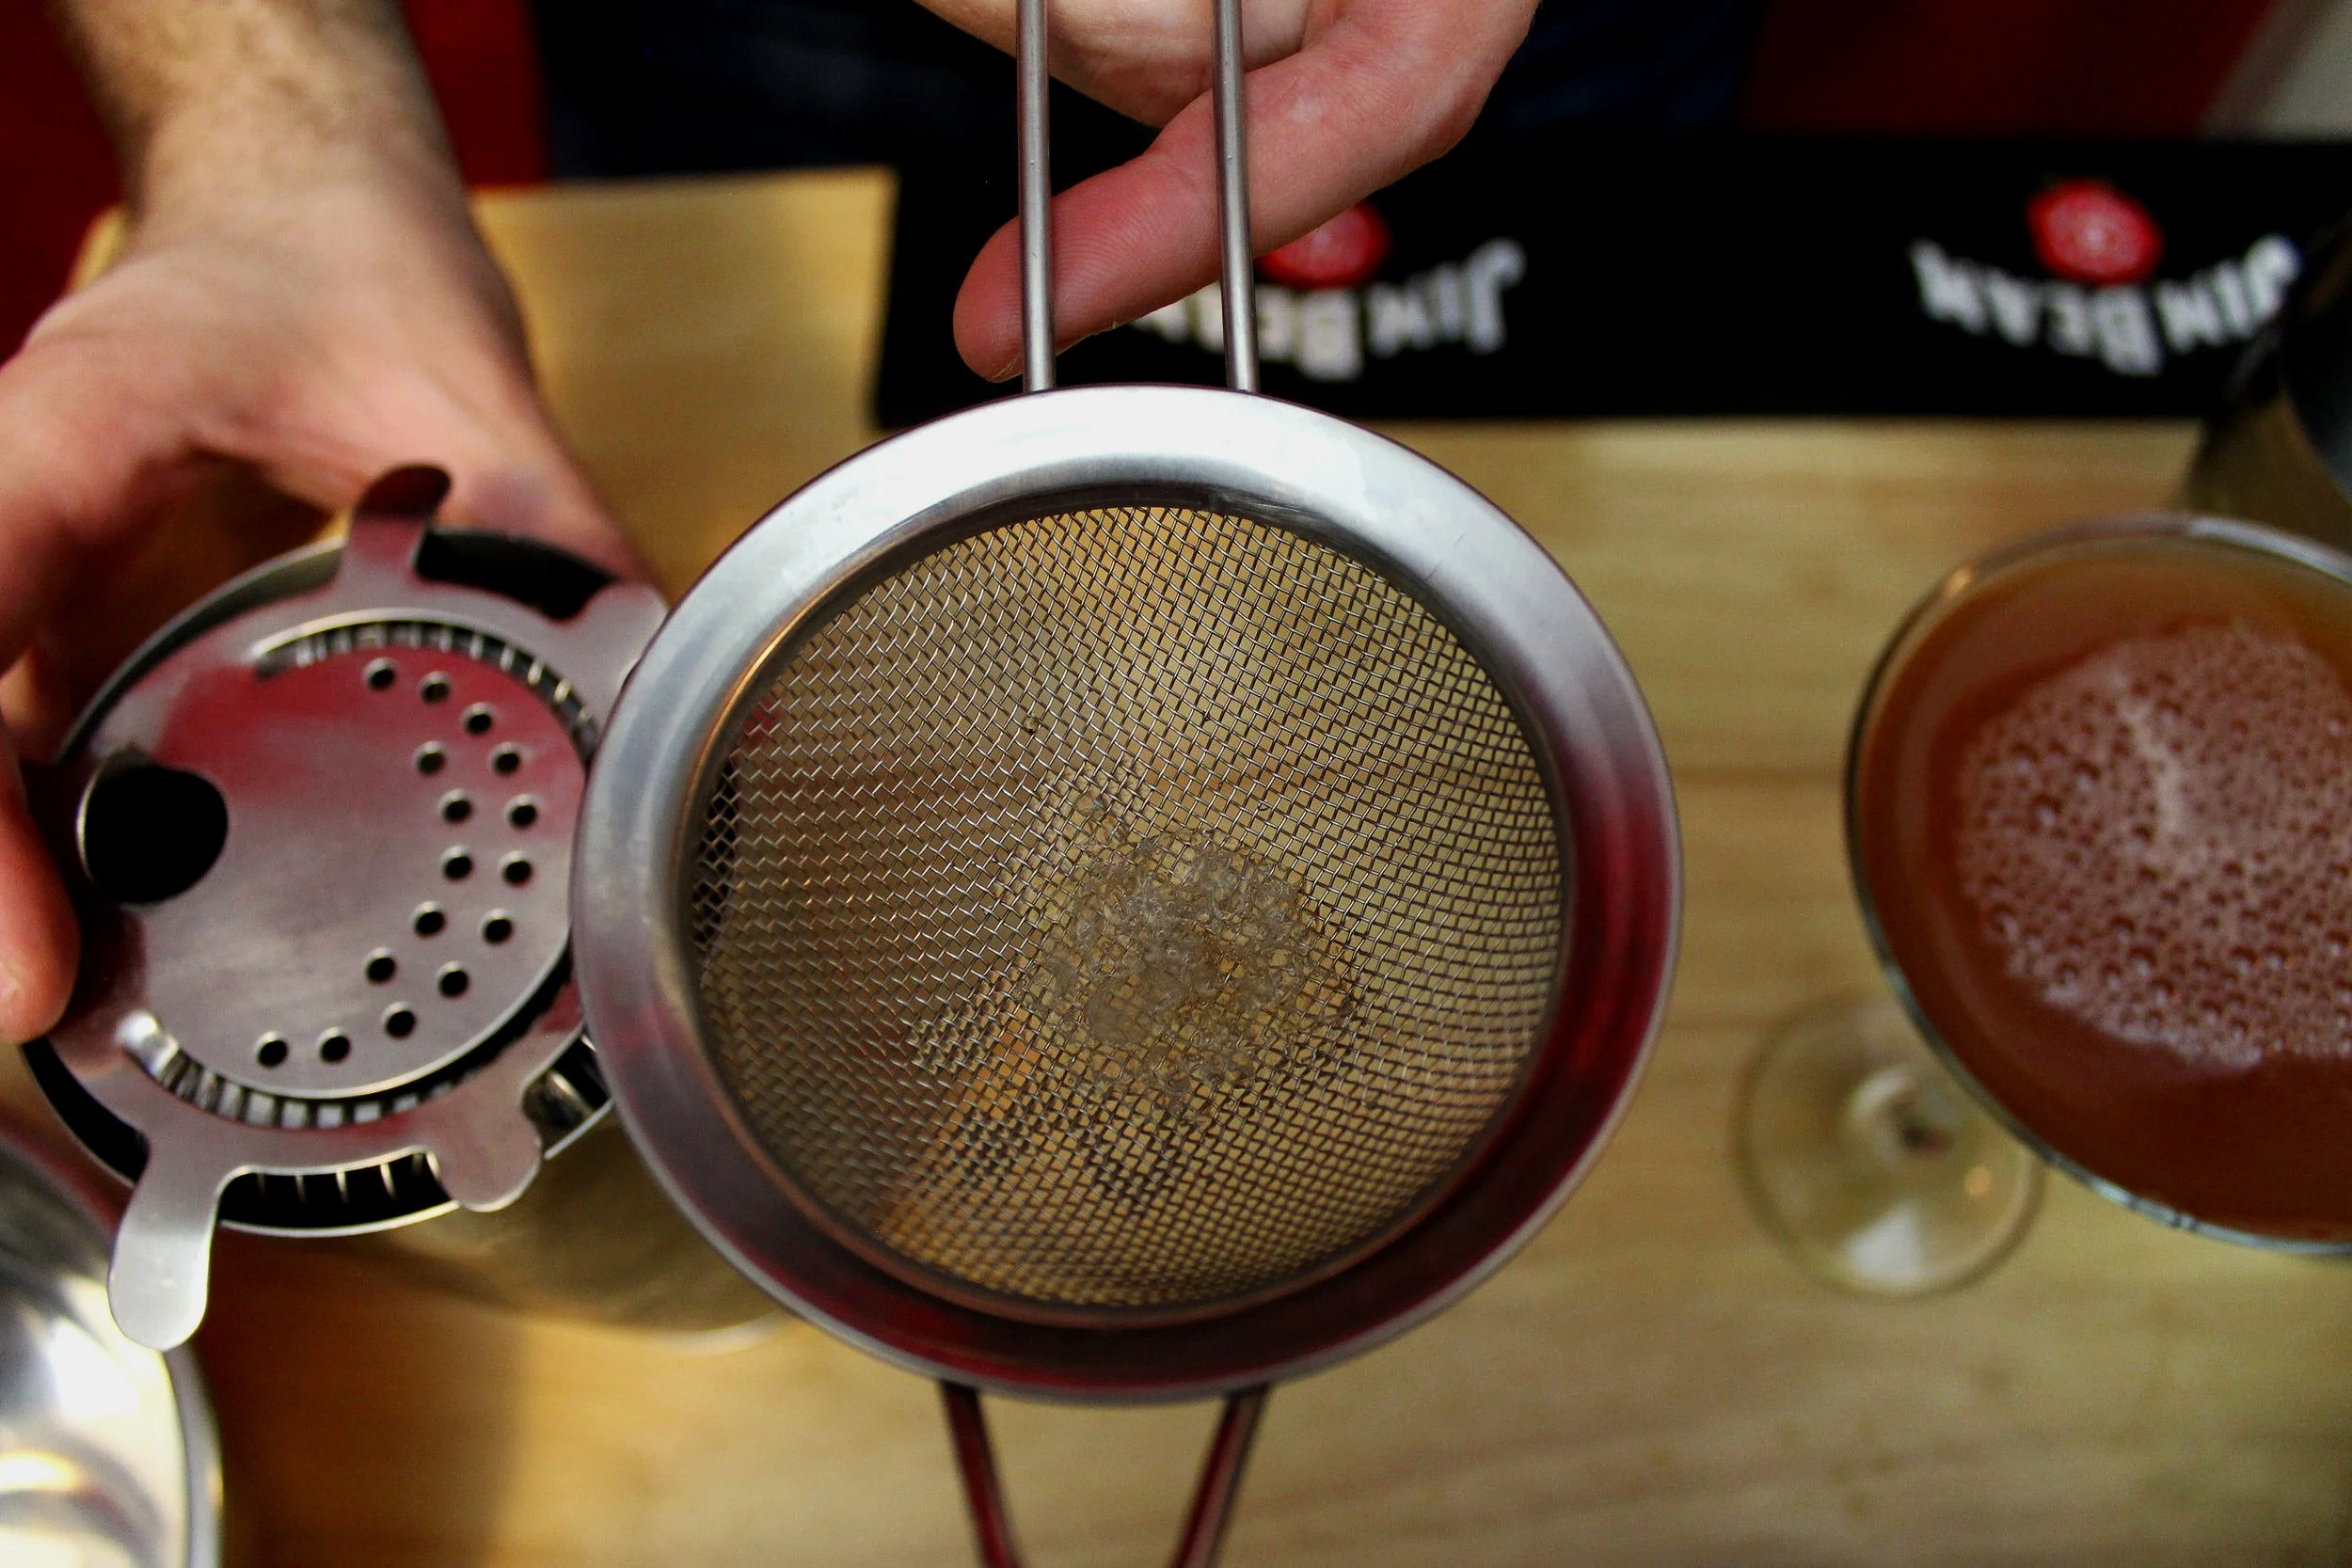
Double strain the contents using the Hawthorne strainer and fine mesh sieve into your glass.
Here you can see just how much the ice breaks during the shaking process, without the fine mesh sieve these chips would end up in the drink and continue to water down the drink and add an unexpected, and often unpleasant, chunky texture to an otherwise very refined cocktail. Also note just how many bubbles are present after pouring a shaken cocktail.
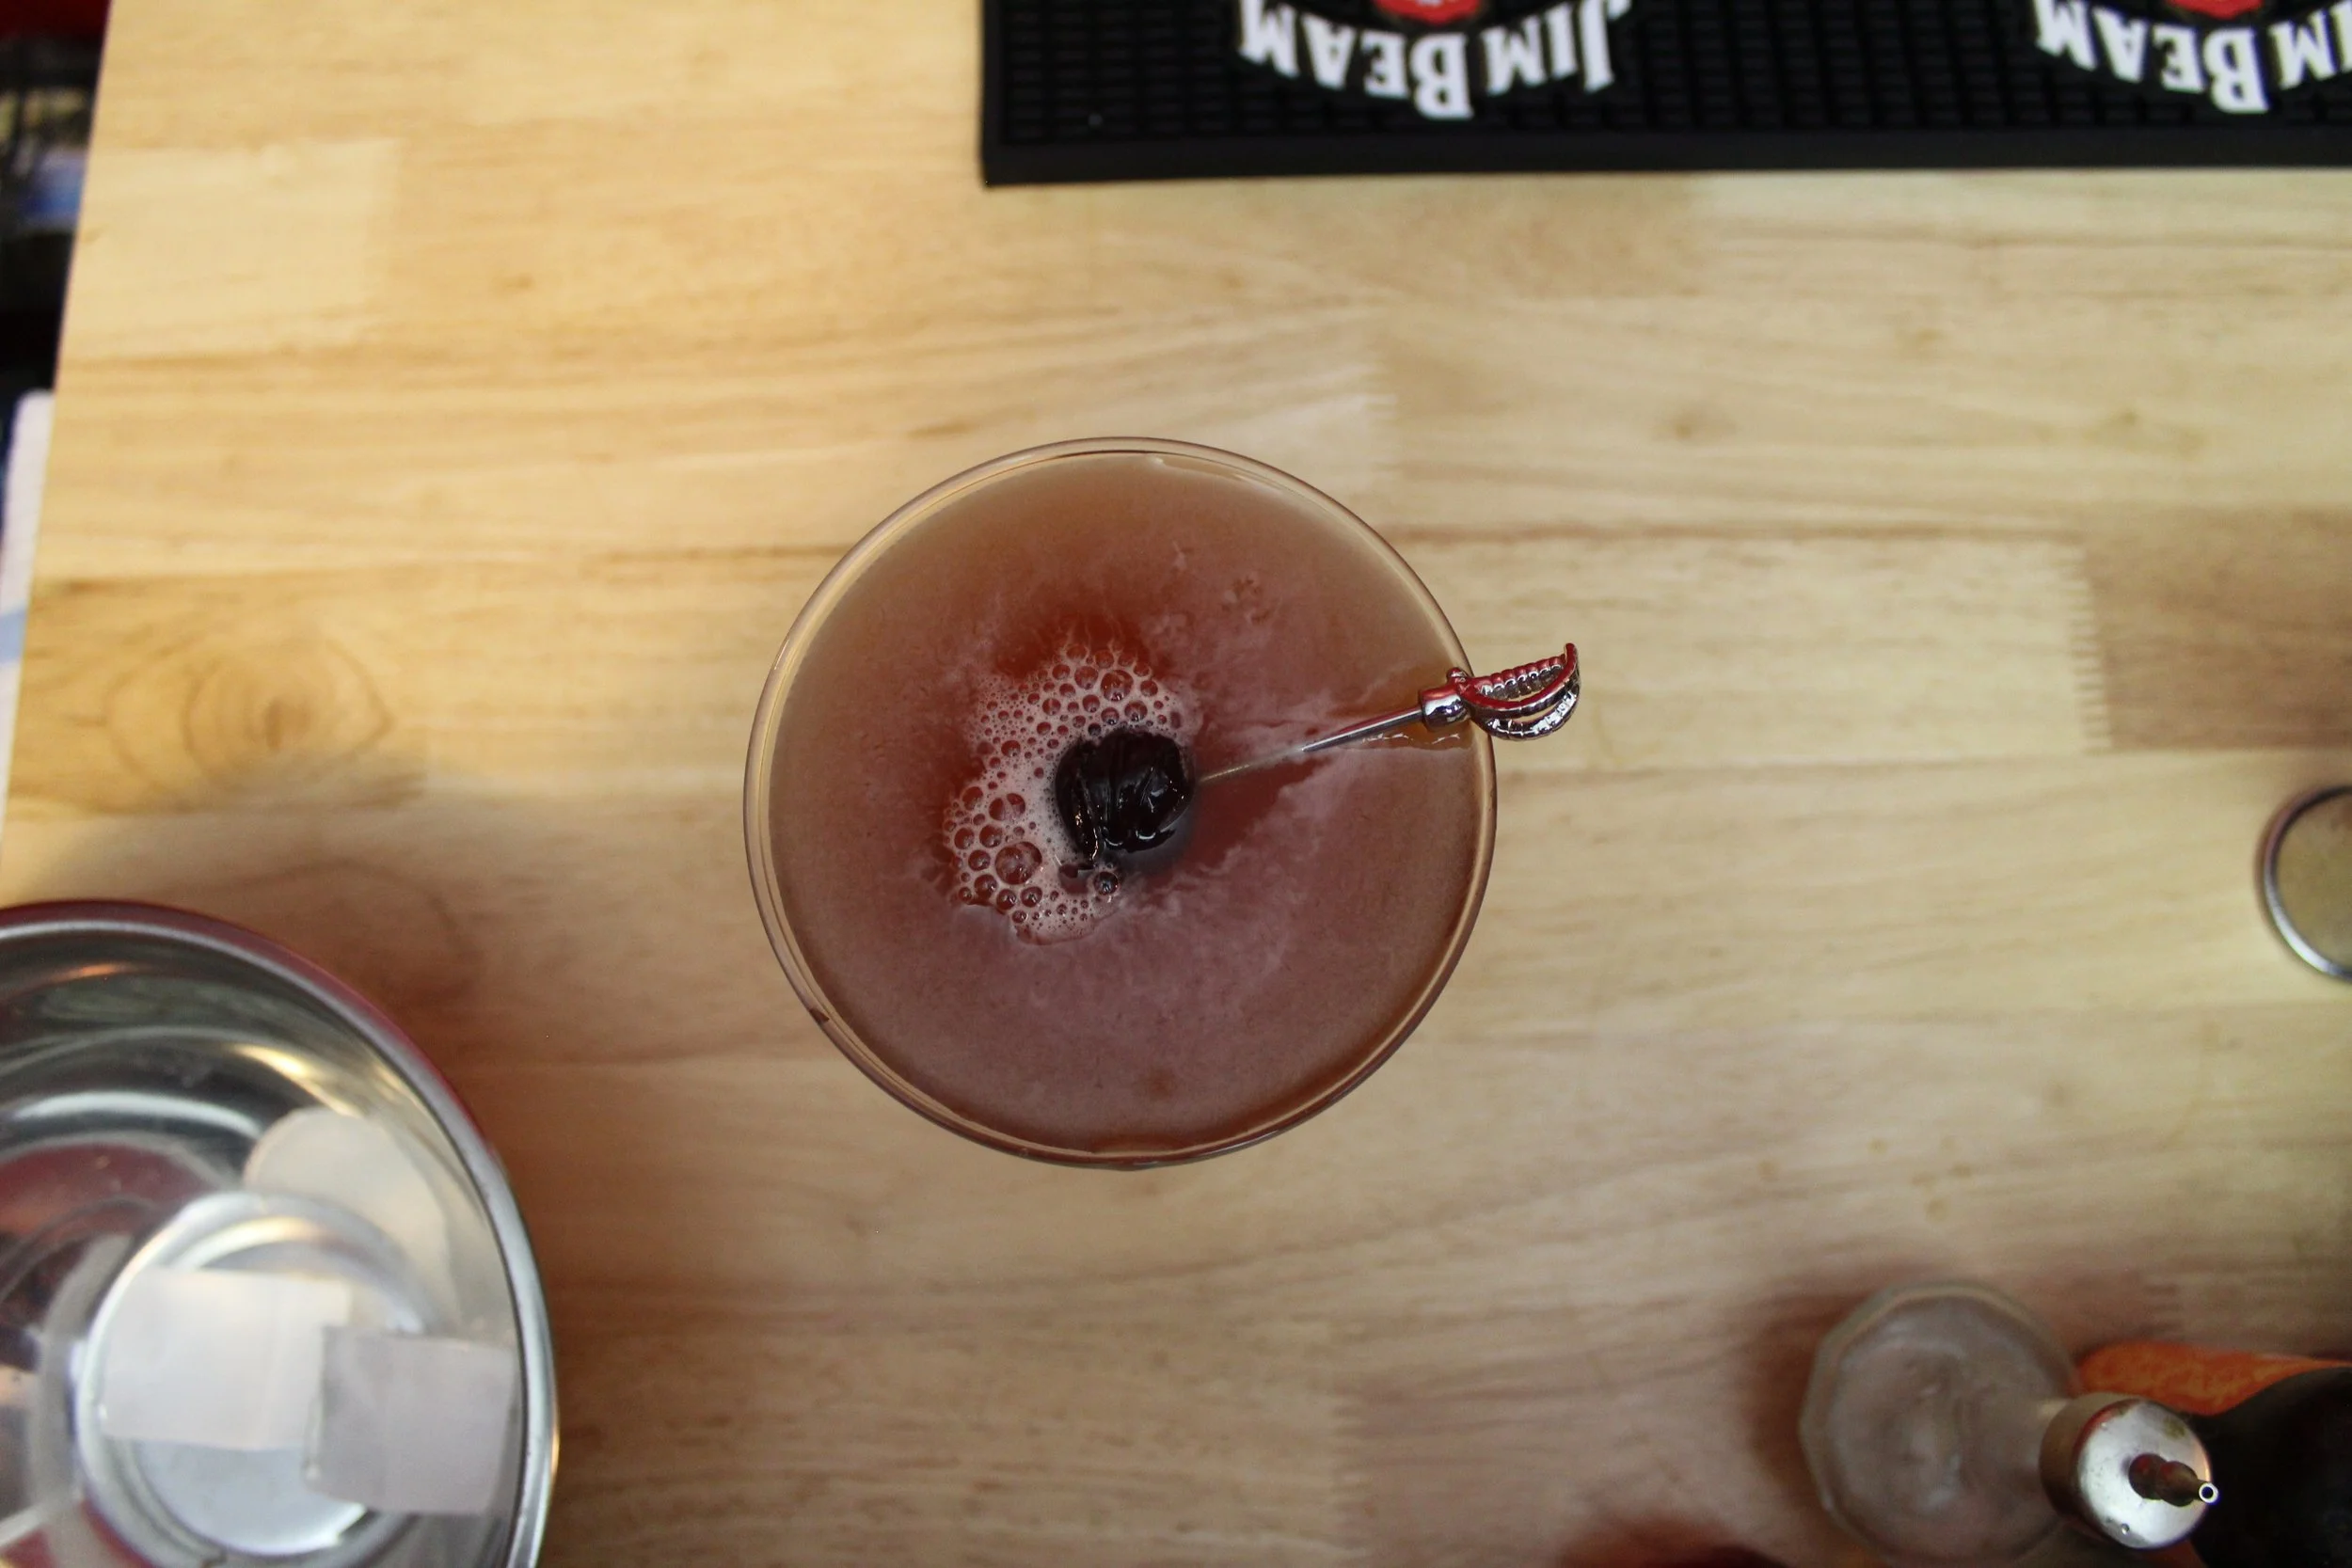
Once again swashbuckle your favorite cherry and place it gently to garnish the drink. you can see even more very fine bubbles starting to settle out of the cocktail now and you can see just how precariously full this cocktail glass has become.
Even though both cocktails contain the exact same ingredients in the same proportions you should notice some general differences. The shaken Manhattan should have a more homogenous or “even” flavor, it should be colder, and one might say that it is “smoother” because the alcohol has more water in it and is thus less aggressive. The stirred version should be warmer, a little bit more alcohol forward, and you should notice more nuances of the individual ingredients. Stirring cocktails lends itself more to drinks made with higher-quality ingredients, so if you have a pricey bottle you want to enjoy I recommend stirring. To note, if you are making a cocktail with an egg white or whole egg then it must be shaken without exception.
Here you have the two final products side by side, notice the difference in color and the difference in the volume of the glasses. When I bought these glasses both purported to hold the same volume, about 3.5 - 4 fluid ounces. You can see just how much volume shaking a drink can added as the ice cracks and melts. and that sort of hazy look, in addition to the sweating glass, is an indication of how much air has been infused into the drink.
You may also come across the term “dry shake” which simply means to shake either all ingredients or a specified set of ingredients without ice. You may then be directed to add ice and shake again, to stir the shaken mixture with ice, or to simply pour the contents over ice. It is best practice to read the full recipe before taking any steps to avoid any surprises or mishaps.
That concludes what you absolutely need to know about basic mixing of most cocktails. Until you have a good idea of what your preference is I recommend trying drinks both shaken and stirred (when possible) to develop your palate and understand the differences. As always, thank you for reading and please enjoy drinking responsibly.


